How to Organize Food Storage Containers (and Finally Find the Lids)
A simple system for the most frustrating kitchen drawer: how many containers you need, how to store lids, and what to toss.
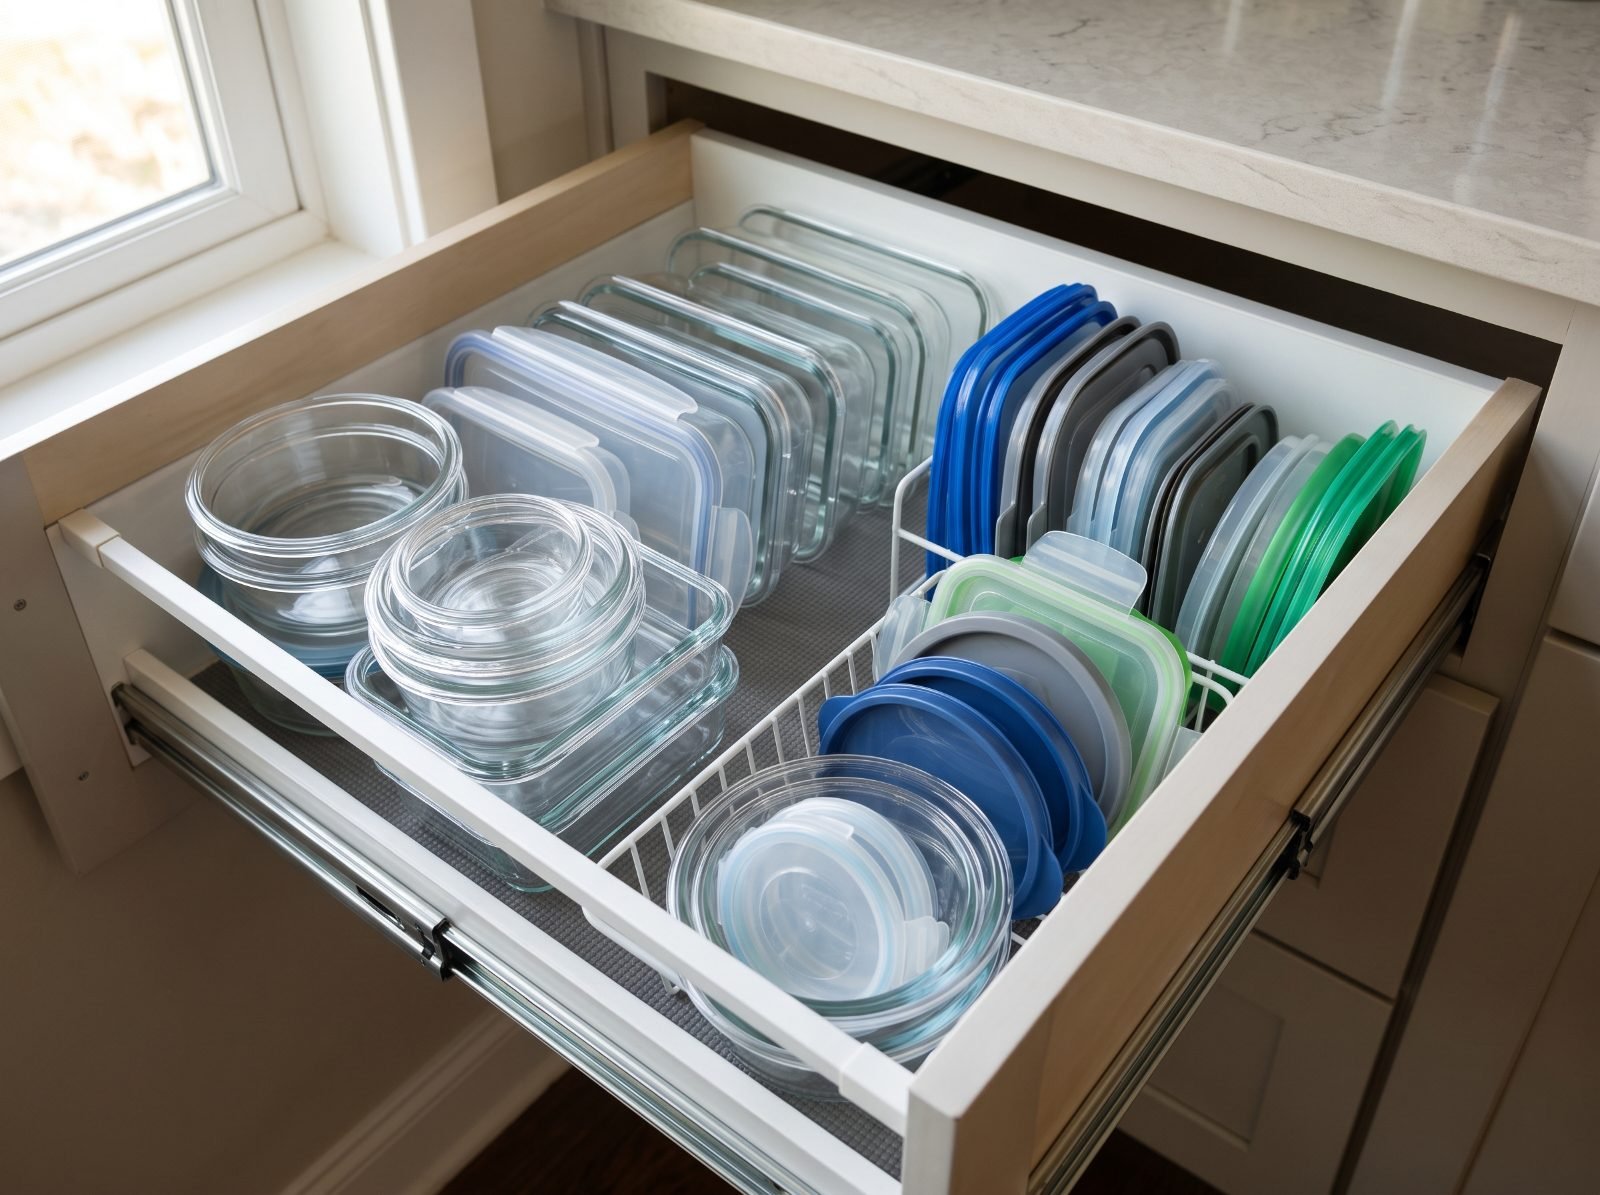
Almost every kitchen has a cabinet or drawer where food storage containers avalanche out every time it opens, and the right lid is never there. The problem is rarely too little space. It is usually too many mismatched pieces and no rule for how lids are stored. This guide fixes both.
Step 1: Match every container to a lid
- Empty the cabinet onto the counter.
- Pair each container with its lid. Snap them together to be sure.
- Set aside any container without a lid, and any lid without a container.
- Check for cracks, warping, cloudy plastic and stains or smells that will not wash out.
Orphan pieces almost never find their match. Recycle them if your local program accepts that type of plastic, or reuse them for non-food storage such as screws or craft supplies.
Step 2: Decide how many you really need
| Household | A reasonable set |
|---|---|
| 1 person | 6 to 8 containers in 2 or 3 sizes |
| 2 people | 8 to 12 containers |
| Family of 4 | 12 to 20 containers, including a few large ones |
These are starting points. If you meal prep or pack lunches every day, keep a few more of the size you use most. Sticking to one or two brands or shapes makes nesting and lid matching much easier.
Step 3: Store containers and lids separately
- Containers: nest them by shape, largest to smallest, so one stack takes the space of one container.
- Lids: stand them upright like files in a divider or a narrow bin, sorted by size. You can see and grab the right one without digging.
- Keep the containers you use daily in the front, and large or occasional ones behind.
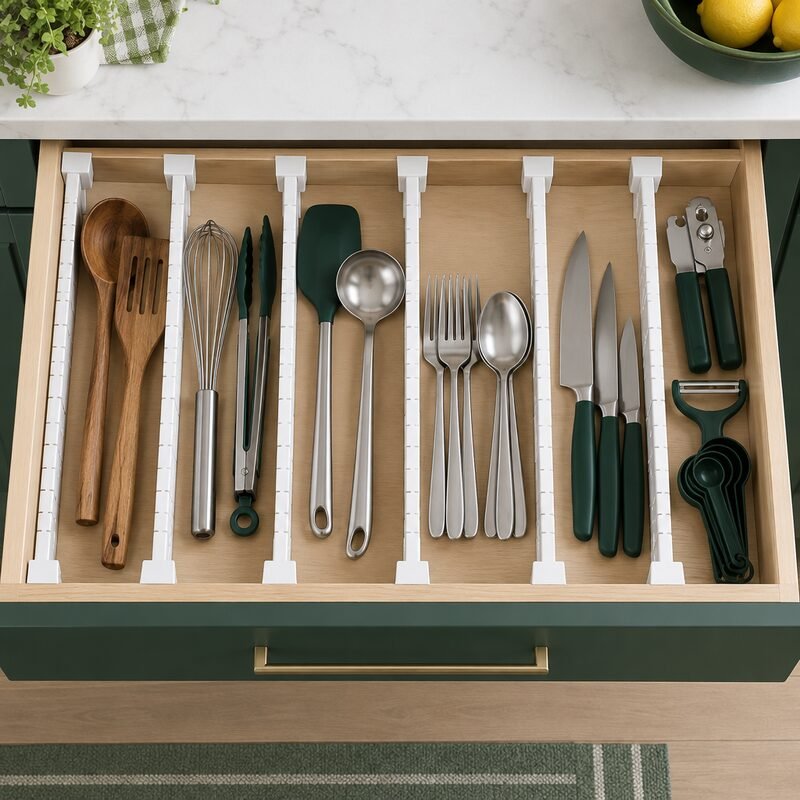
Four tray sizes that tile together, so a shallow junk drawer gets a place for every small item.
View on Amazon Add to Amazon cart 🛒Glass or plastic?
| Material | Pros | Watch for |
|---|---|---|
| Glass | Does not stain or hold odors, can go in the oven (check the label), lasts years | Heavier, can break, needs room to store |
| Plastic | Light, inexpensive, good for lunches | Can stain and warp; check if it is labeled microwave safe and dishwasher safe |
Care tips
- Let containers cool before sealing hot food, and leave the lid slightly open while reheating in the microwave unless the label says otherwise.
- Wash lids with the seal removed now and then if the gasket comes out.
- Store containers with lids off or loosely on so they dry fully and do not hold odors.
- Replace plastic that is cracked, cloudy or warped.
Keep the system working
Set a simple rule: when a new container comes in, an old or unmatched one goes out. Do a quick lid check every couple of months. Takeout containers are fine for occasional use, but they tend to multiply; keep only a few for giving leftovers to guests.
Label leftovers so containers come back
Containers disappear when leftovers get forgotten at the back of the fridge. A strip of masking tape with the contents and date on each container makes it obvious what to eat first, and the container returns to the drawer sooner. Most cooked leftovers are best eaten within three to four days in the refrigerator.
Frequently asked questions
Where is the best place to store food containers?
A deep drawer or a lower cabinet close to the fridge or the dishwasher, so they are easy to fill and easy to put away.
Should I keep lids on the containers?
Storing lids separately saves space. Storing them on keeps sets together but takes more room. Most small kitchens do better with lids filed separately.
How do I get rid of stains on plastic containers?
A paste of baking soda and water, or a few hours in sunlight, often lightens tomato stains.