How to Keep Stew From Burning on the Bottom of the Pot (No Constant Stirring)
The stew smells great, you step away for a few minutes, and the spoon comes up with a dark, sticky layer from the bottom of the pot. Most of that babysitting comes from too much heat in one spot, and the pot you already own can fix it.
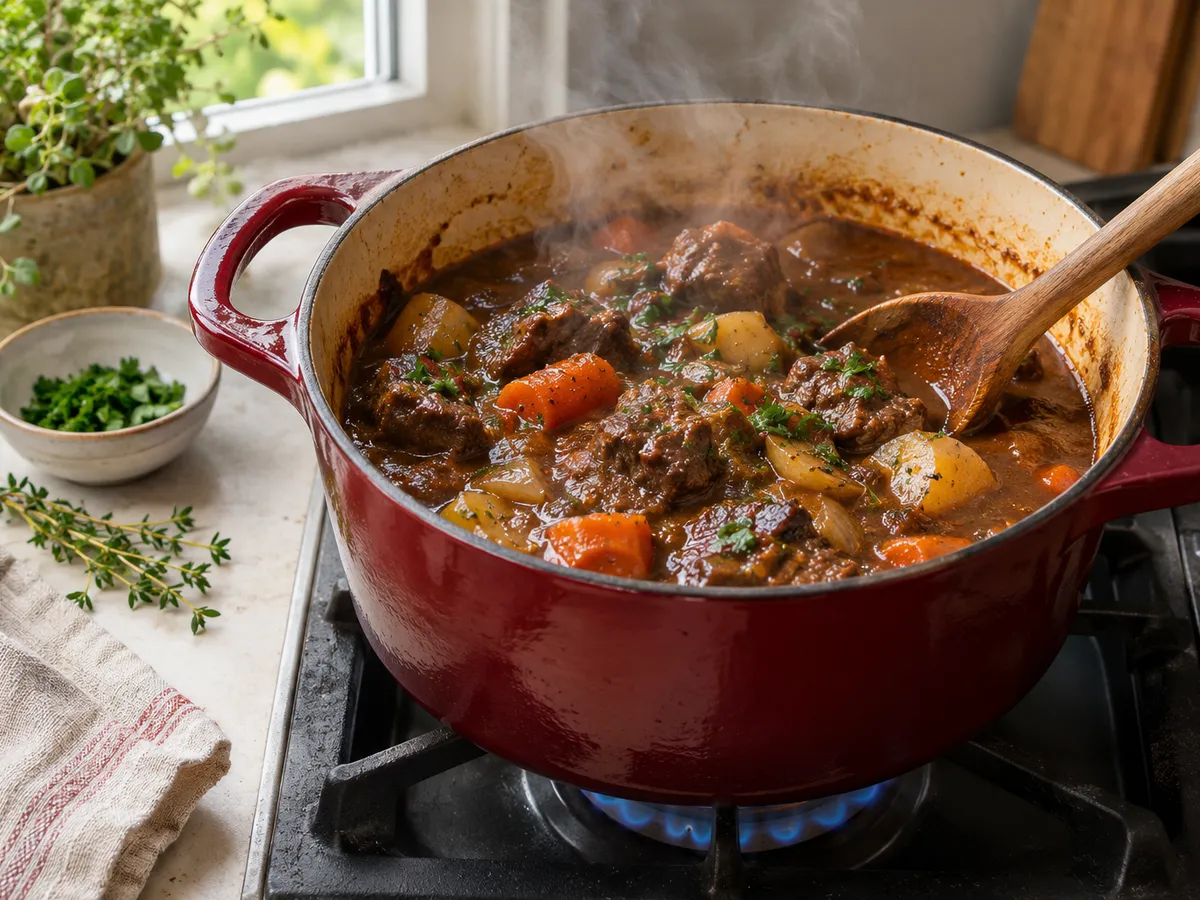
If you want to know how to keep stew from burning on the bottom of the pot, start with where the heat goes. A burner heats only the base of the pot. The metal right above the flame runs hotter than the stew itself, and the heavy pieces and thick gravy that settle there cook against it. Stirring only moves food off that hot spot for a moment; the lasting fixes lower, spread or surround the heat.
Below are the causes, the free fixes, and one tool option.
Why stew burns on the bottom
| Cause | What you notice | Fix |
|---|---|---|
| Heat too high | Big bubbles across the surface and a brown film forming on the base | Bring it to a boil, then turn it down to a bare simmer |
| Thin pot | Sticking in one spot, right above the flame | Use the heaviest pot you own |
| Burner bigger than the pot base | Scorch marks around the edge and up the sides | Move to a burner that matches the base |
| Too little liquid | Gravy gets thick and glossy too early and the pot ticks or sizzles | Top up with hot broth or water |
| Thickened too early | Flour or a starchy slurry settles and catches | Thicken near the end of cooking |
| Fond left on the base | Dark bits from browning that keep cooking and blacken | Deglaze before the long simmer |
7 fixes before you buy anything
- Use the heaviest pot you have. A thick base spreads the burner's heat sideways before it reaches the food, so there is less of a single hot spot. A dutch oven or thick-bottomed stainless pot beats a thin stockpot.
- Boil once, then hold a bare simmer. Le Creuset's care guide says medium or low heat gives the best results for most cooking and that cast iron holds heat so well that overheating causes food to burn or stick. Once the stew boils, turn the heat down until only a few small bubbles break the surface.
- Match the burner to the pot. Le Creuset also says to match the pan base size to the burner. A large flame licking up the sides of a small pot scorches the edges.
- Deglaze after browning. When the meat comes out, pour in some of the liquid and scrape the browned bits off the bottom with a wooden spoon.
- Keep enough liquid, and check it. Many recipes suggest checking every 20 minutes or so on the stovetop. Add hot broth or water if the level has dropped below the meat.
- Stir the bottom, not the top. When you do stir, drag a flat-edged wooden spoon across the whole base and into the corners. That is where food sits against the heat.
- Move it to the oven. This is the biggest fix for babysitting. America's Test Kitchen explains that most braises do better in the oven because heat surrounds the pot from all sides, while a burner concentrates it on the bottom. The Kitchn suggests bringing stew to a simmer on the stove, covering it and moving it to an oven around 300°F. Use an oven-safe pot and lid, and check your pot's oven limit.
One more habit: if you thicken with flour or a slurry, do it near the end.
Watch it in 15 seconds
This short shows the stand-and-stir stew problem and the switch to an electric pressure cooker covered below. Some scenes were made with AI.
One tool option: an electric pressure cooker
If you make stew often and do not have an oven-safe pot, a sealed electric pressure cooker removes the stirring. Once the lid is locked and the cooker is at pressure, the stew cooks in a closed pot with no open simmer to watch. The one in the video is the Instant Pot Duo 6-quart 7-in-1 (#ad). Its listing describes pressure cook, slow cook, rice, yogurt, steam, saute and warm functions, a stainless inner pot with a tri-ply bottom, a dishwasher-safe lid and inner pot, and room to cook for up to six people. It has a 4.7-star average from more than 186,000 ratings. Instant Pot's FAQ still says not to leave it unattended while it runs, so think of it as less stirring, not leaving the house.
How to avoid the BURN warning
When the base of the inner pot gets too hot, the cooker shows a burn or overheat message and stops heating. Instant Pot's support FAQ lists what to check:
- Enough thin liquid. At least 1½ cups of thin, water-based liquid in a 6-quart pot (1 cup for 3 quarts, 2 cups for 8 quarts). Thicker sauces need an additional cup of thin liquid.
- Valve set to sealing. The steam release handle must be on sealing and pushed fully down onto its post, or the liquid steams away.
- Deglaze after sauteing. Scrape the browned bits off the bottom before you lock the lid.
- Go easy on thick and fatty ingredients. Instant Pot advises caution with more than 1/4 cup of oil, condensed cream soups and thick sauces, and says to add liquid to thin them. Many recipe sites also layer tomato paste on top without stirring it down.
- Stay under the max line. Do not fill past the PC MAX 2/3 line on the inner pot.
The honest catch, from buyer reviews: some 3-star reviewers say it takes a while to learn the settings, that building and releasing pressure makes cooking take longer than expected, and that cleaning the lid and sealing ring is a chore. A few 1-star reviews describe units that stopped turning on, and it needs a spot on the counter. Check today's price on Amazon.
Common mistakes
- Turning the heat up to finish faster. A rolling boil burns the bottom and toughens the meat.
- Scraping up a burned layer. If the bottom has scorched, move the unstuck stew to a clean pot instead of stirring the burned bits through.
- Adding thickener at the start. Flour, cornstarch and pureed potato settle and catch over a long simmer.
- Stirring tomato paste into the base of a pressure cooker. It is one of the most common triggers of the burn warning.
Frequently asked questions
Why does my stew keep sticking to the bottom of the pot?
A stovetop burner heats only the base of the pot, so the bottom layer runs hotter than the rest of the stew. Heavy pieces and thickened gravy settle there and stay in contact with the hottest metal. Too much heat, a thin pot, too little liquid and thickening too early all make it worse.
What should I do if my stew already burned on the bottom?
Stop stirring and take the pot off the heat. Ladle the stew that is not stuck into a clean pot and leave the scorched layer behind. Scraping the burned bits up mixes a bitter taste through the whole batch. Taste the moved stew before you keep cooking it.
How often should I stir stew on the stove?
At a true low simmer, a check and a scrape across the bottom about every 20 minutes is a common recipe guideline, adding hot liquid if the level has dropped. If you need to stir more often than that to stop sticking, the heat is too high or the stew is too thick. A covered pot in the oven needs far less attention.
What does the BURN message on an Instant Pot mean?
It means a sensor found the bottom of the inner pot getting too hot, and the cooker stops heating to protect the food. Instant Pot lists three common causes: not enough thin liquid, a steam release valve that is not set to sealing or not seated, and browned bits left on the bottom after sauteing. Add thin liquid, scrape the bottom clean and restart.
Sources
- Instant Pot frequently asked questions (BRN error, minimum liquid, PC MAX line)
- Le Creuset care and use
- America's Test Kitchen: how to braise more gently in the oven
- America's Test Kitchen: what to do when your Instant Pot says BURN
- The Kitchn: cooking beef stew in the oven
- The Flavor Dance: how to fix a burnt sauce or stew
Checked November 10, 2026. Product details are from the Amazon listing and its customer reviews; we have not tested this pressure cooker ourselves.